2019 Newmar Dutch Star – Paint Correction & Ceramic Coating

Newmar performs a cut and buff paint finish on all Dutch star and higher coaches. The problem with their process is the quality is not consistent.

My rv had a terrible cut and buff job. Every panel and every color had terrible swirl Marks. These are only visible with direct light, but when they show, it looks terrible.

I have a crew out working on the paint correction, and then will be applying CeramicPro PH9 to the rv in multiple coats.

Close up of paint prior to correction – View 1
Close up of paint prior to correction – View 2
Close up of paint after correction – View 1
Close up of paint after correction – View 2

I am not exaggerating when I say the entire coach looked like the pictures shown.

This is a direct result of the soft clearcoat and the rushed polish process. While at camp newmar, I saw a brand new 2019 king aire, and it was just as bad.

Newmar has too many unskilled laborers working in the paint process. I know they have some really good people there too, and I am sure that they are frustrated.

I also question the Newmar wash method. They do not have a 2 bucket rinse or a grit guard, they just grab the lambs wool and wash. The lambs wool becomes contaminated during the wash of a single coach.

Swirl Marks are in most factory paint jobs to some degree. Both of my BMW’S have factory swirl Marks. Once you see the swirls, you will never unsee them.

You have to get the angle just right in direct light to find them. Some will look like spider web, others are circular. The circular is from using the wrong tool to polish. Spider web could be from washing or the plastic protector they use when shipping. Most dealerships cannot repair this.

This is not a new problem, but it is the reason why Newmars cut and buff was a separator in the industry.

Once they brought the process to the Dutch Star, it became less valuable. They produce too many to do it properly.

I have never seen a description of what they do for cut and buff, and how many layers, not what their tolerance for imperfections per square inch is. I have to assume this process is nothing like the King Aire was in 2013.

Today’s King Aire does not look as good as they used to, but they can all be saved with paint correction.

I guarantee every motorhome has the issues I have shown. If you question it, you need to look at it from many angles with the sun on it, and at different distances.

Once you see it, you will never unsee it. Similar to the Jesus wood carving that traces the opposite of the letters. Hard to see at first.

I am a perfectionist when it comes to paint detail. I didn’t save my 2013 in time, and don’t want to live with a coach for 5 years that has these swirls.
Girard Nova Awning Protection Switch

There have been numerous reports of the Girard Nova Awnings deploying on their own. I have never experienced this in the limited time I have owned my 2019 Newmar Dutch Star, but I did receive a call from Newmar specifically advising me to leave the awnings unplugged unless I intend to use them.

The location of the plug is in the bays, and although not hard to access, it is an extra unnecessary step and an inconvenience to have to unplug each time.

The reasons for the deployment given where a possible grounding issue, which has yet to be identified. Since I park my RV in a garage, this could be a real problem if the awnings deployed.

The Girard Nova awning has a Emergency break cutout circuit, that is supposed to retract the slides once the break is released and then after 60 seconds will remove all power to awnings to ensure the awnings will not deploy. In spite of this circuit, numerous claims of awning deployments while driving have been made online, and Newmar has confirmed several warranty repairs for this exact problem. I do not have data as to what years are affected, nor how many models.

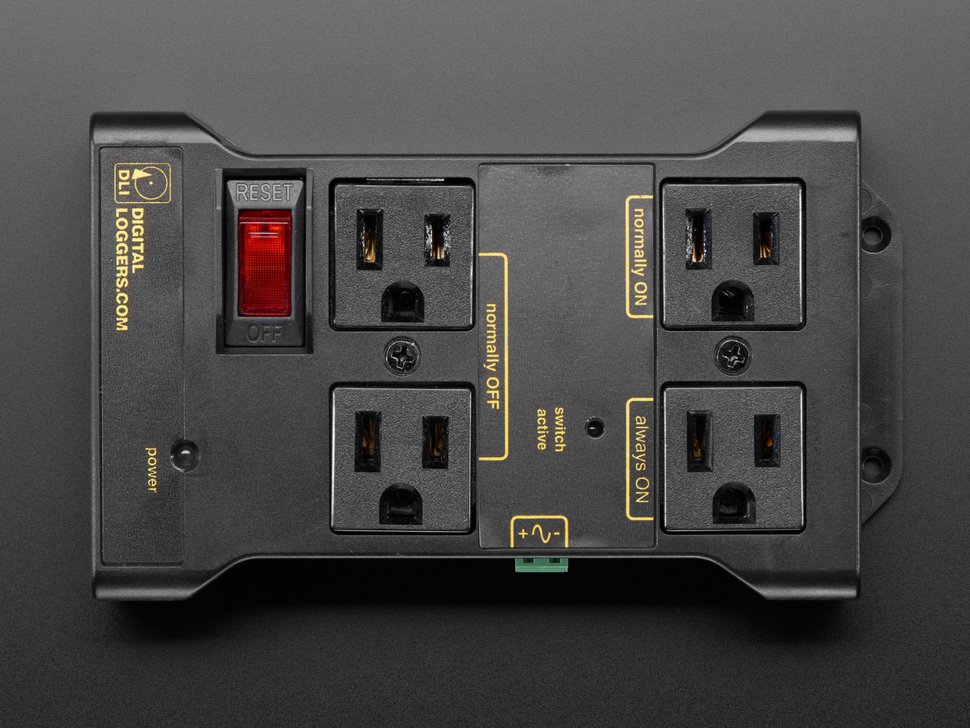
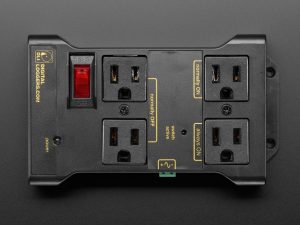
My goal is to make certain that the awnings cannot deploy, and since Newmar has stated the only way to do this is to remove power, I decided to go along with that plan, but in an easy fashion. What I have installed is a relay controlled power strip.

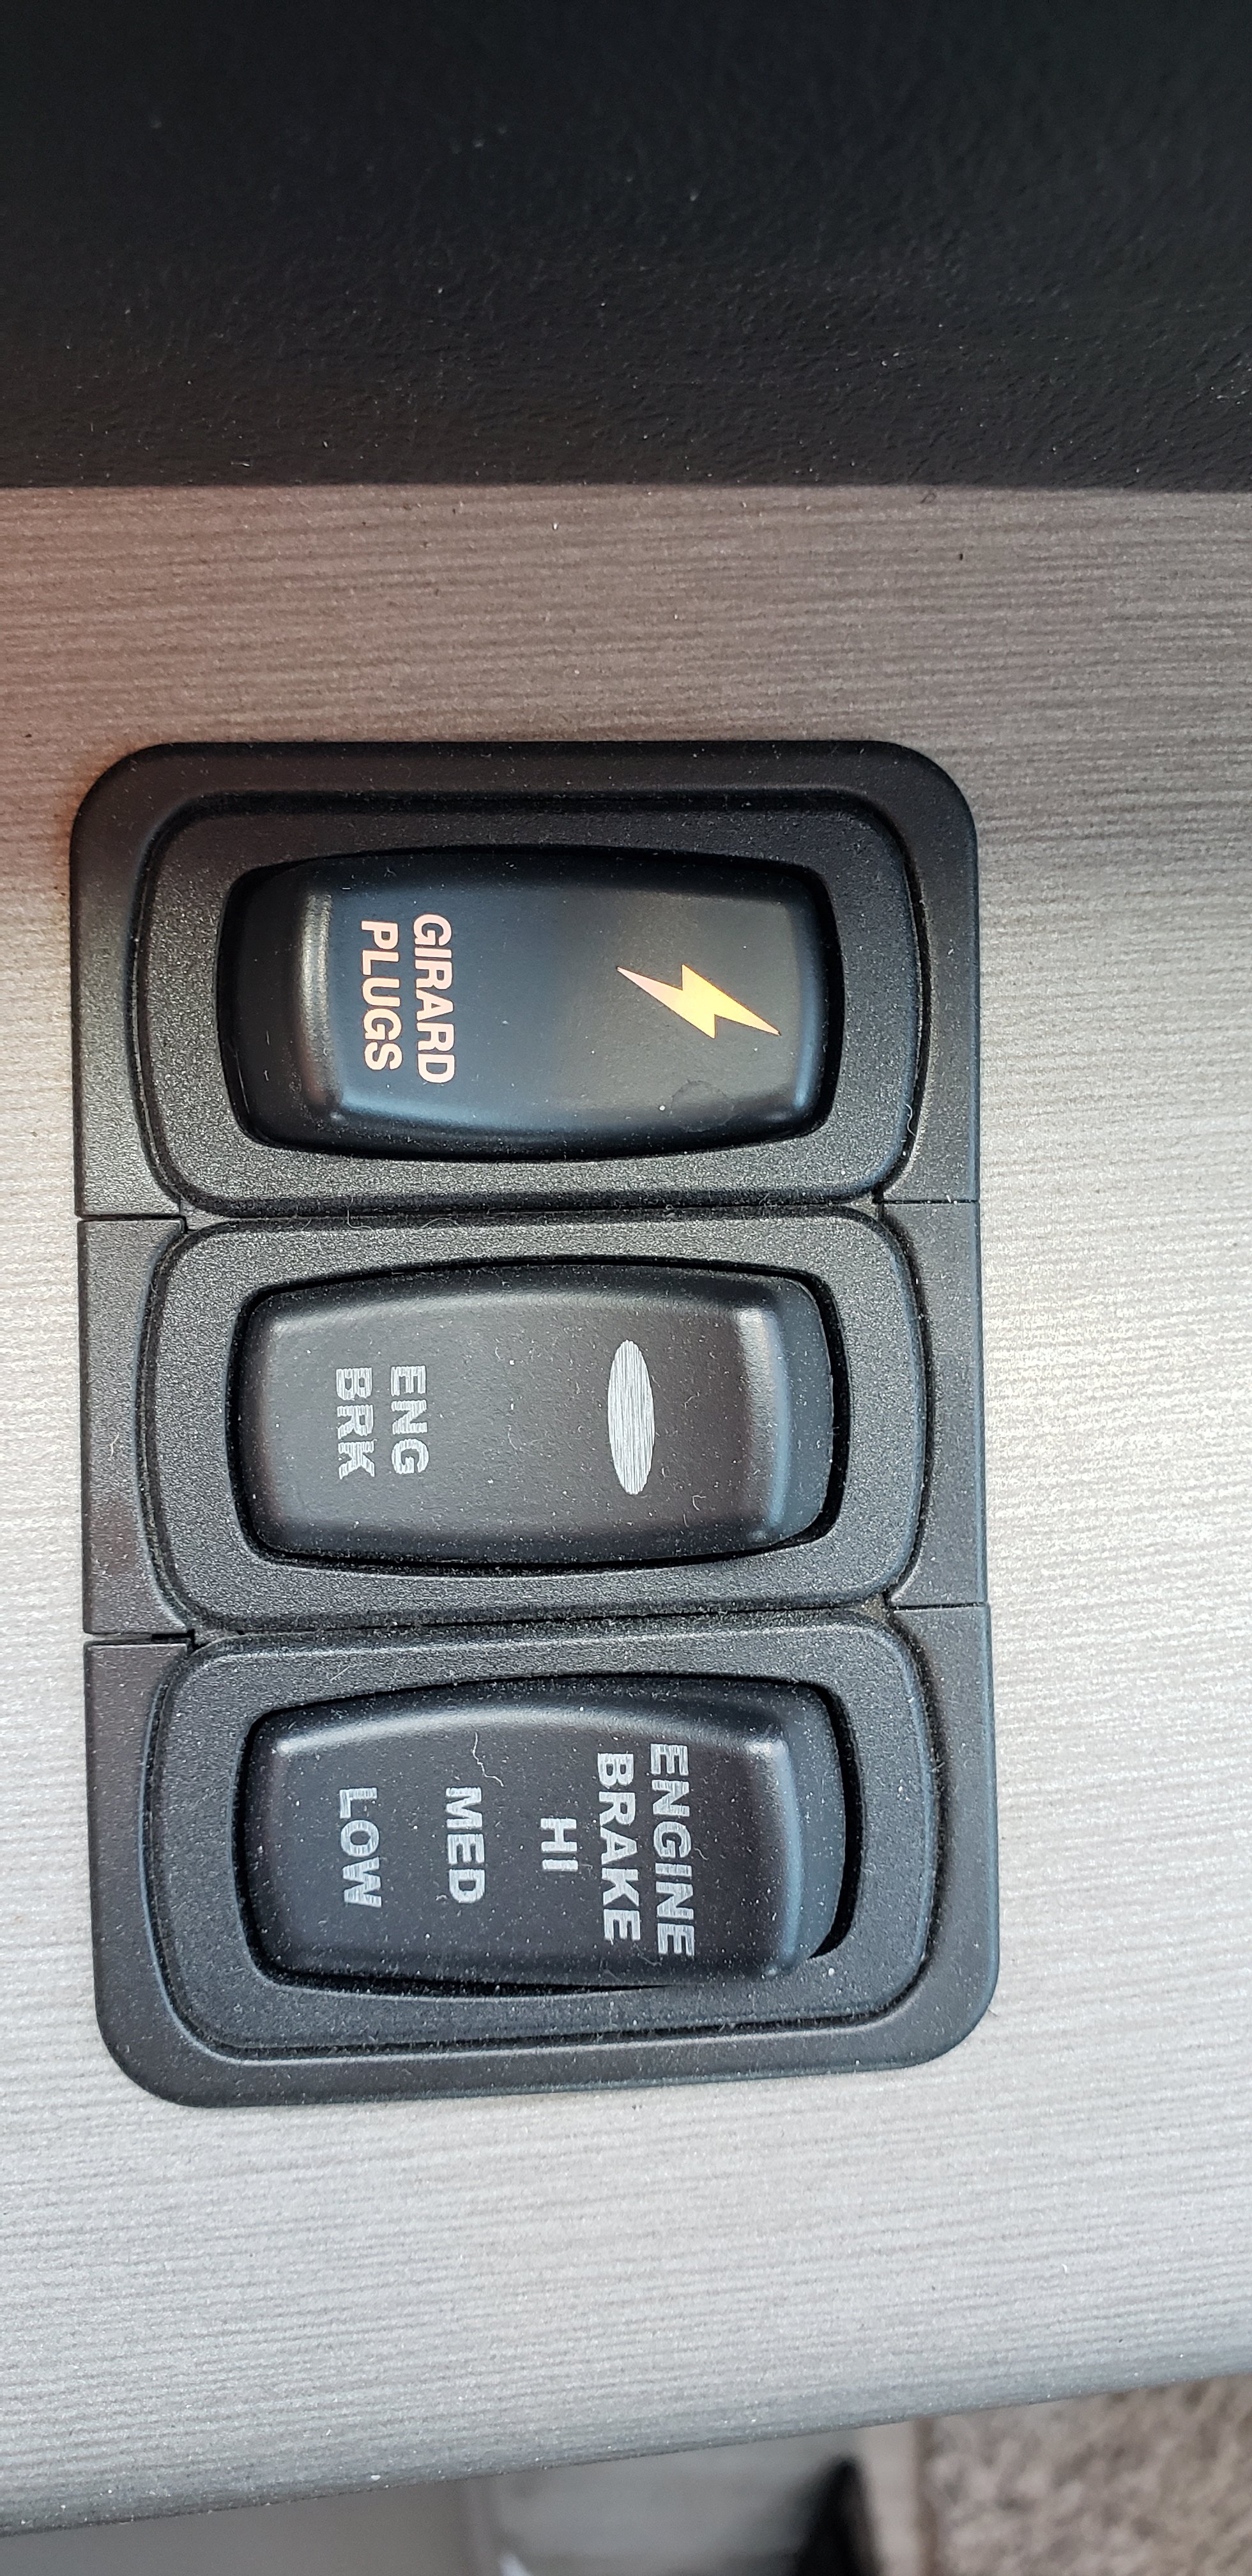
The plugs will only be turned on when my switch passes 12 volt DC power to the relay. This was accomplished with minimal effort and cost, and restores the luxury of using the awnings safely and conveniently. The switch is located on my left hand side console, in front of my transmission. Not an ideal place, but this was an unused switch for the tag dump, which was replaced with a function on my HWH Active Air. By using this location, I didn’t have to cut into the dashboard, or do extensive work. I will most likely relocate the window up/down button to this position once I receive the custom switch I have on order. For now, I am using the Tag Dump switch, rewired to only make use of the ON/OFF and not connecting to the momentary (ON).

The parts list for this project:

  1. Controllable Four Outlet Power Relay
  2. Custom Made wiring Harness
  3. Custom L-Series switch
  4. Power Distribution Box
  5. 16 Gauge Wire
  6. 12 Gauge Wire
  7. 10 Gauge Wire

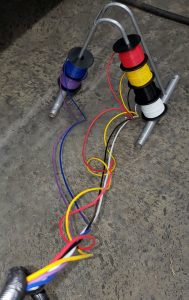
For the custom wiring harness, all that is required is a single 16awg signal wire running to the switch. Since this is a long run going from the bays to the dashboard, I decided to make a custom wiring harness with extra wires for the future. I included 6 different colors of wires in a wire loom, and ran it inside the frame rails to the front of the RV. I then entered the wiring compartment below the drivers seat, and ran it up to the dashboard. This harness is now fully accessible for any future projects.

Making the harness was rather simple, but time consuming. My hands were rather sore after putting all that wire inside the loom. I ended up with a 30 foot harness, which can easily reach the cabinet above the driver, or the center console behind the screens. I also left a pull string in the chase for future wire installation. After taking the time to fish the first wire, it is always wise to leave a pull string behind.

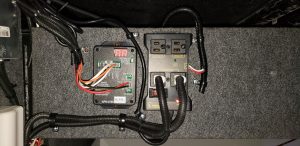
Since I was already running wire from the 12v power bay to the dashboard, I made a secondary harness with 3 10 awg wires (Red/Black/White) and connected to the KIB terminals. These terminate behind my dash into two distribution boxes, one for ignition power, and one for constant power. I will use this to tap in for my Dash Camera, Tablet Power, and other accessory power items in the future.

With the power distribution in place, the switch needs to have a 12v power supplied to one leg, and the positive signal wire connected to the other, so that when the switch is ON, 12v DC power is supplied to the signal wire. I used a common ground for the Negative side of the signal wire. The finished product allows me to now safely cut the power to the Girard awnings with a simple toggle switch, and I no longer have to disconnect and reconnect the power cords.

Girard Awning power connected to switched outlets.

Update:

I originally used the tag dump switch, but have since replaced that switch with a custom switch. This is illuminated when it has power, so it is easy to see that it is energized.